


If you’re considering laser vision correction, understanding the LASIK eye surgery procedure steps gives you a clear picture of what’s actually involved, and helps settle the nerves that come with any eye procedure. LASIK is one of the most commonly performed elective surgeries worldwide, yet many patients walk into their consultation unsure of what happens before, during, or after the laser does its work.
At Bright Sight Eye Specialists in Randwick, Dr Capucine Odouard performs refractive laser surgery including LASIK, PRK, and SMILE, tailoring each approach to the patient’s eyes and lifestyle goals. Her training at Sydney Eye Hospital and her Master of Science in Biology of Vision from University College London give her a deep understanding of how the eye responds to laser correction.
This guide walks you through every stage of the LASIK process, from your initial assessment and pre-operative preparation, through each step in the procedure room, to what recovery looks like in the days and weeks that follow. By the end, you’ll know exactly what to expect and feel confident asking the right questions at your consultation.
What LASIK does and who it suits
Understanding the LASIK eye surgery procedure steps begins with knowing what the surgery actually achieves. LASIK works by permanently reshaping your cornea, the clear dome at the front of the eye responsible for bending incoming light. When that light doesn’t focus precisely on your retina, you experience blurry vision at distance or close up, which glasses and contacts correct on a temporary basis. LASIK corrects the shape of the cornea itself, so light lands exactly where it should without any external aid.
How the laser reshapes your cornea
During the procedure, your surgeon creates a thin protective flap in the outer layer of the cornea, lifts it carefully to one side, and then uses an excimer laser to remove microscopic amounts of tissue underneath. The laser follows a personalised treatment map built from detailed measurements of your individual eye taken during your pre-operative assessment. Once the reshaping is complete, the flap is returned to its original position and bonds naturally without sutures. The active laser treatment itself typically takes under 30 seconds per eye.
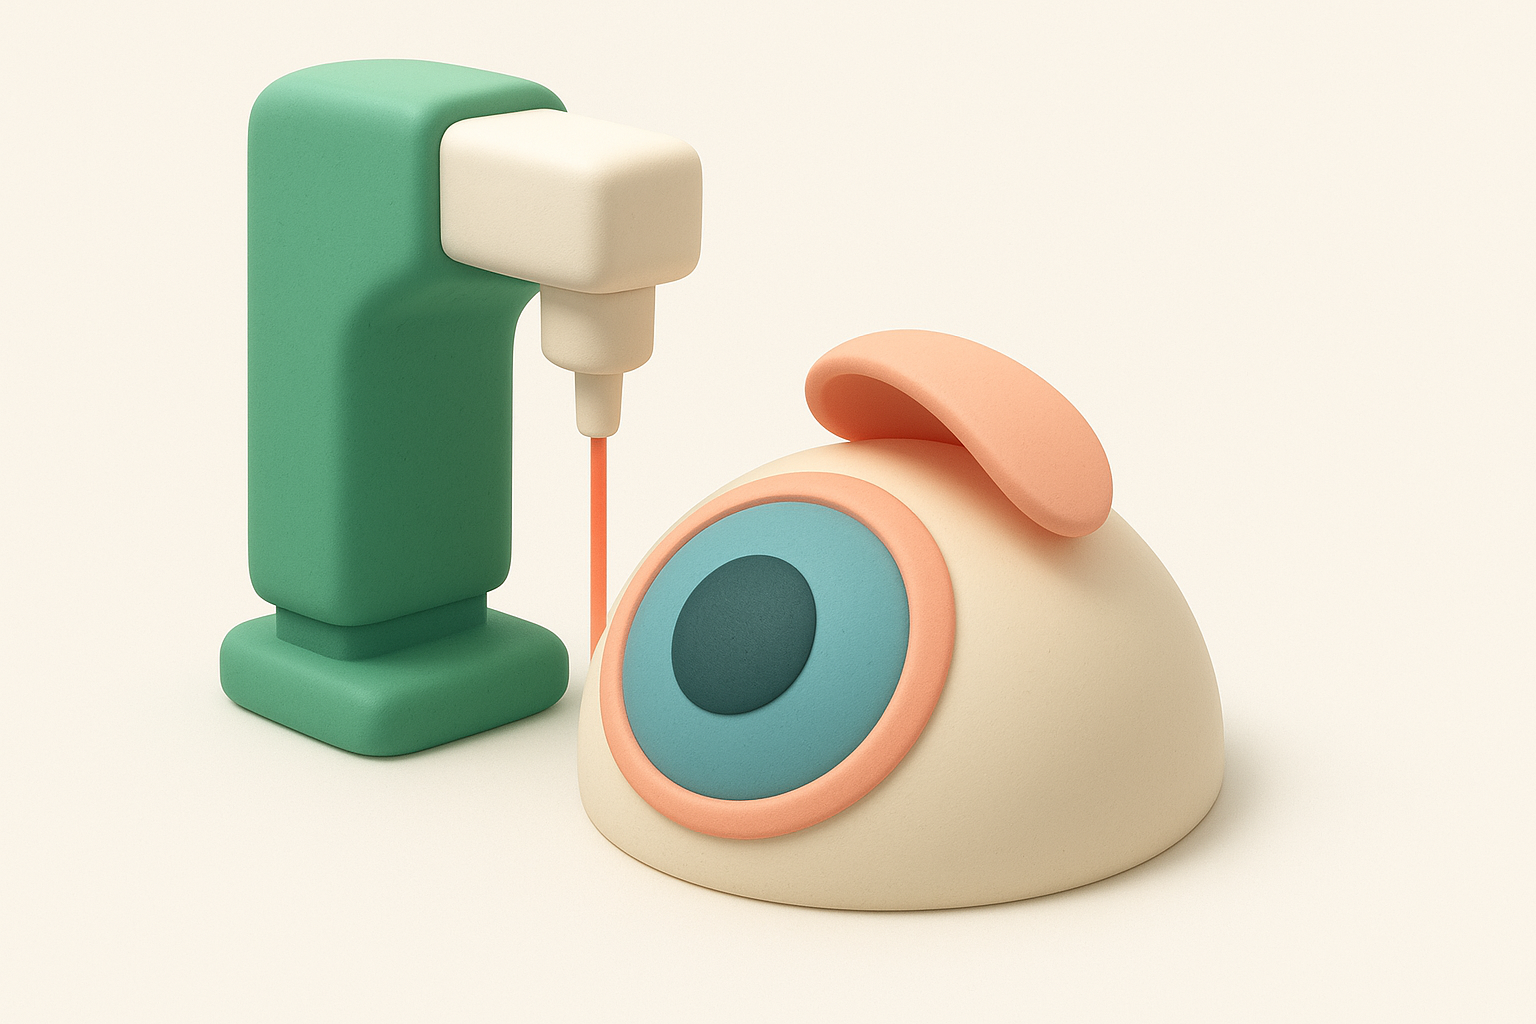
The excimer laser removes tissue in increments as small as 0.25 microns, making it one of the most precise instruments used in any surgical procedure.
Who makes a good candidate
Not everyone qualifies for LASIK, which is exactly why a thorough assessment comes before anything else. You are generally a strong candidate if you are 18 or older, have a stable prescription for at least 12 months, carry sufficient corneal thickness, and have no significant dry eye or corneal irregularities. Conditions such as keratoconus or certain autoimmune diseases may make LASIK unsuitable, but alternatives like PRK or SMILE may still apply.
A typical candidate profile looks like this:
| Factor | Suitable range |
|---|---|
| Age | 18 to 55 years |
| Myopia | Up to approximately -10.00D |
| Hyperopia | Up to approximately +4.00D |
| Astigmatism | Up to 5.00D |
| Corneal thickness | Sufficient to create the flap safely |
| General eye health | No active infections or uncontrolled conditions |
Step 1. Book your assessment and prepare
Your first step in the LASIK eye surgery procedure steps is booking a pre-operative assessment, not the procedure itself. This appointment determines whether your eyes suit LASIK and gathers the precise measurements your surgeon needs to programme the laser treatment accurately.
What your assessment covers
During the assessment, your surgeon measures your corneal thickness, topography, and refractive error in fine detail. Your pupils will also be dilated during part of the exam, so arrange for someone to drive you home afterwards. Dr Odouard reviews all findings with you in person, explaining whether LASIK, PRK, or SMILE best suits your eye anatomy and vision goals.
This single appointment is what separates a safe, predictable outcome from an avoidable complication, so attend with enough time to ask questions.
How to prepare before your assessment
Arriving prepared makes your measurements more accurate and the consultation more productive. Follow these steps in the days leading up to your appointment:
- Stop wearing soft contact lenses at least two weeks beforehand; rigid gas-permeable lenses require four weeks or more
- Avoid preservative-containing eye drops unless your doctor has prescribed them
- Bring your current glasses and a full list of any medications you take
- Write down your vision goals, such as driving without glasses or reducing dependence on reading glasses, so Dr Odouard can tailor her recommendations to your lifestyle
Step 2. Arrive on the day and get set up
On the day of your procedure, arriving prepared and organised makes the whole process run smoothly. The clinic team will check you in, confirm your identity and prescription details, and review your pre-operative measurements one final time before you enter the procedure room.
What to bring and wear
Your practical choices on the day matter more than most patients expect. Follow this checklist before you leave home:
- Wear comfortable, loose clothing with no collar or hood that could interfere when you lie back
- Leave eye makeup, perfume, and lotions at home, as these can interfere with the laser’s precision
- Bring your glasses rather than contact lenses, which must already be out as instructed
- Arrange for someone to drive you home afterwards, as your vision will be temporarily blurred
- Bring your Medicare card and insurance details if you have not already provided them
How the team prepares your eyes
Once you are checked in, a nurse or technician administers anaesthetic eye drops to both eyes, which take effect within a few minutes. You will feel no pain during the procedure itself, though you may notice mild pressure sensations when the surgeon positions the equipment.
You stay awake throughout and are asked to focus on a blinking light, which is straightforward once the team has walked you through it.
Step 3. Follow the LASIK procedure steps
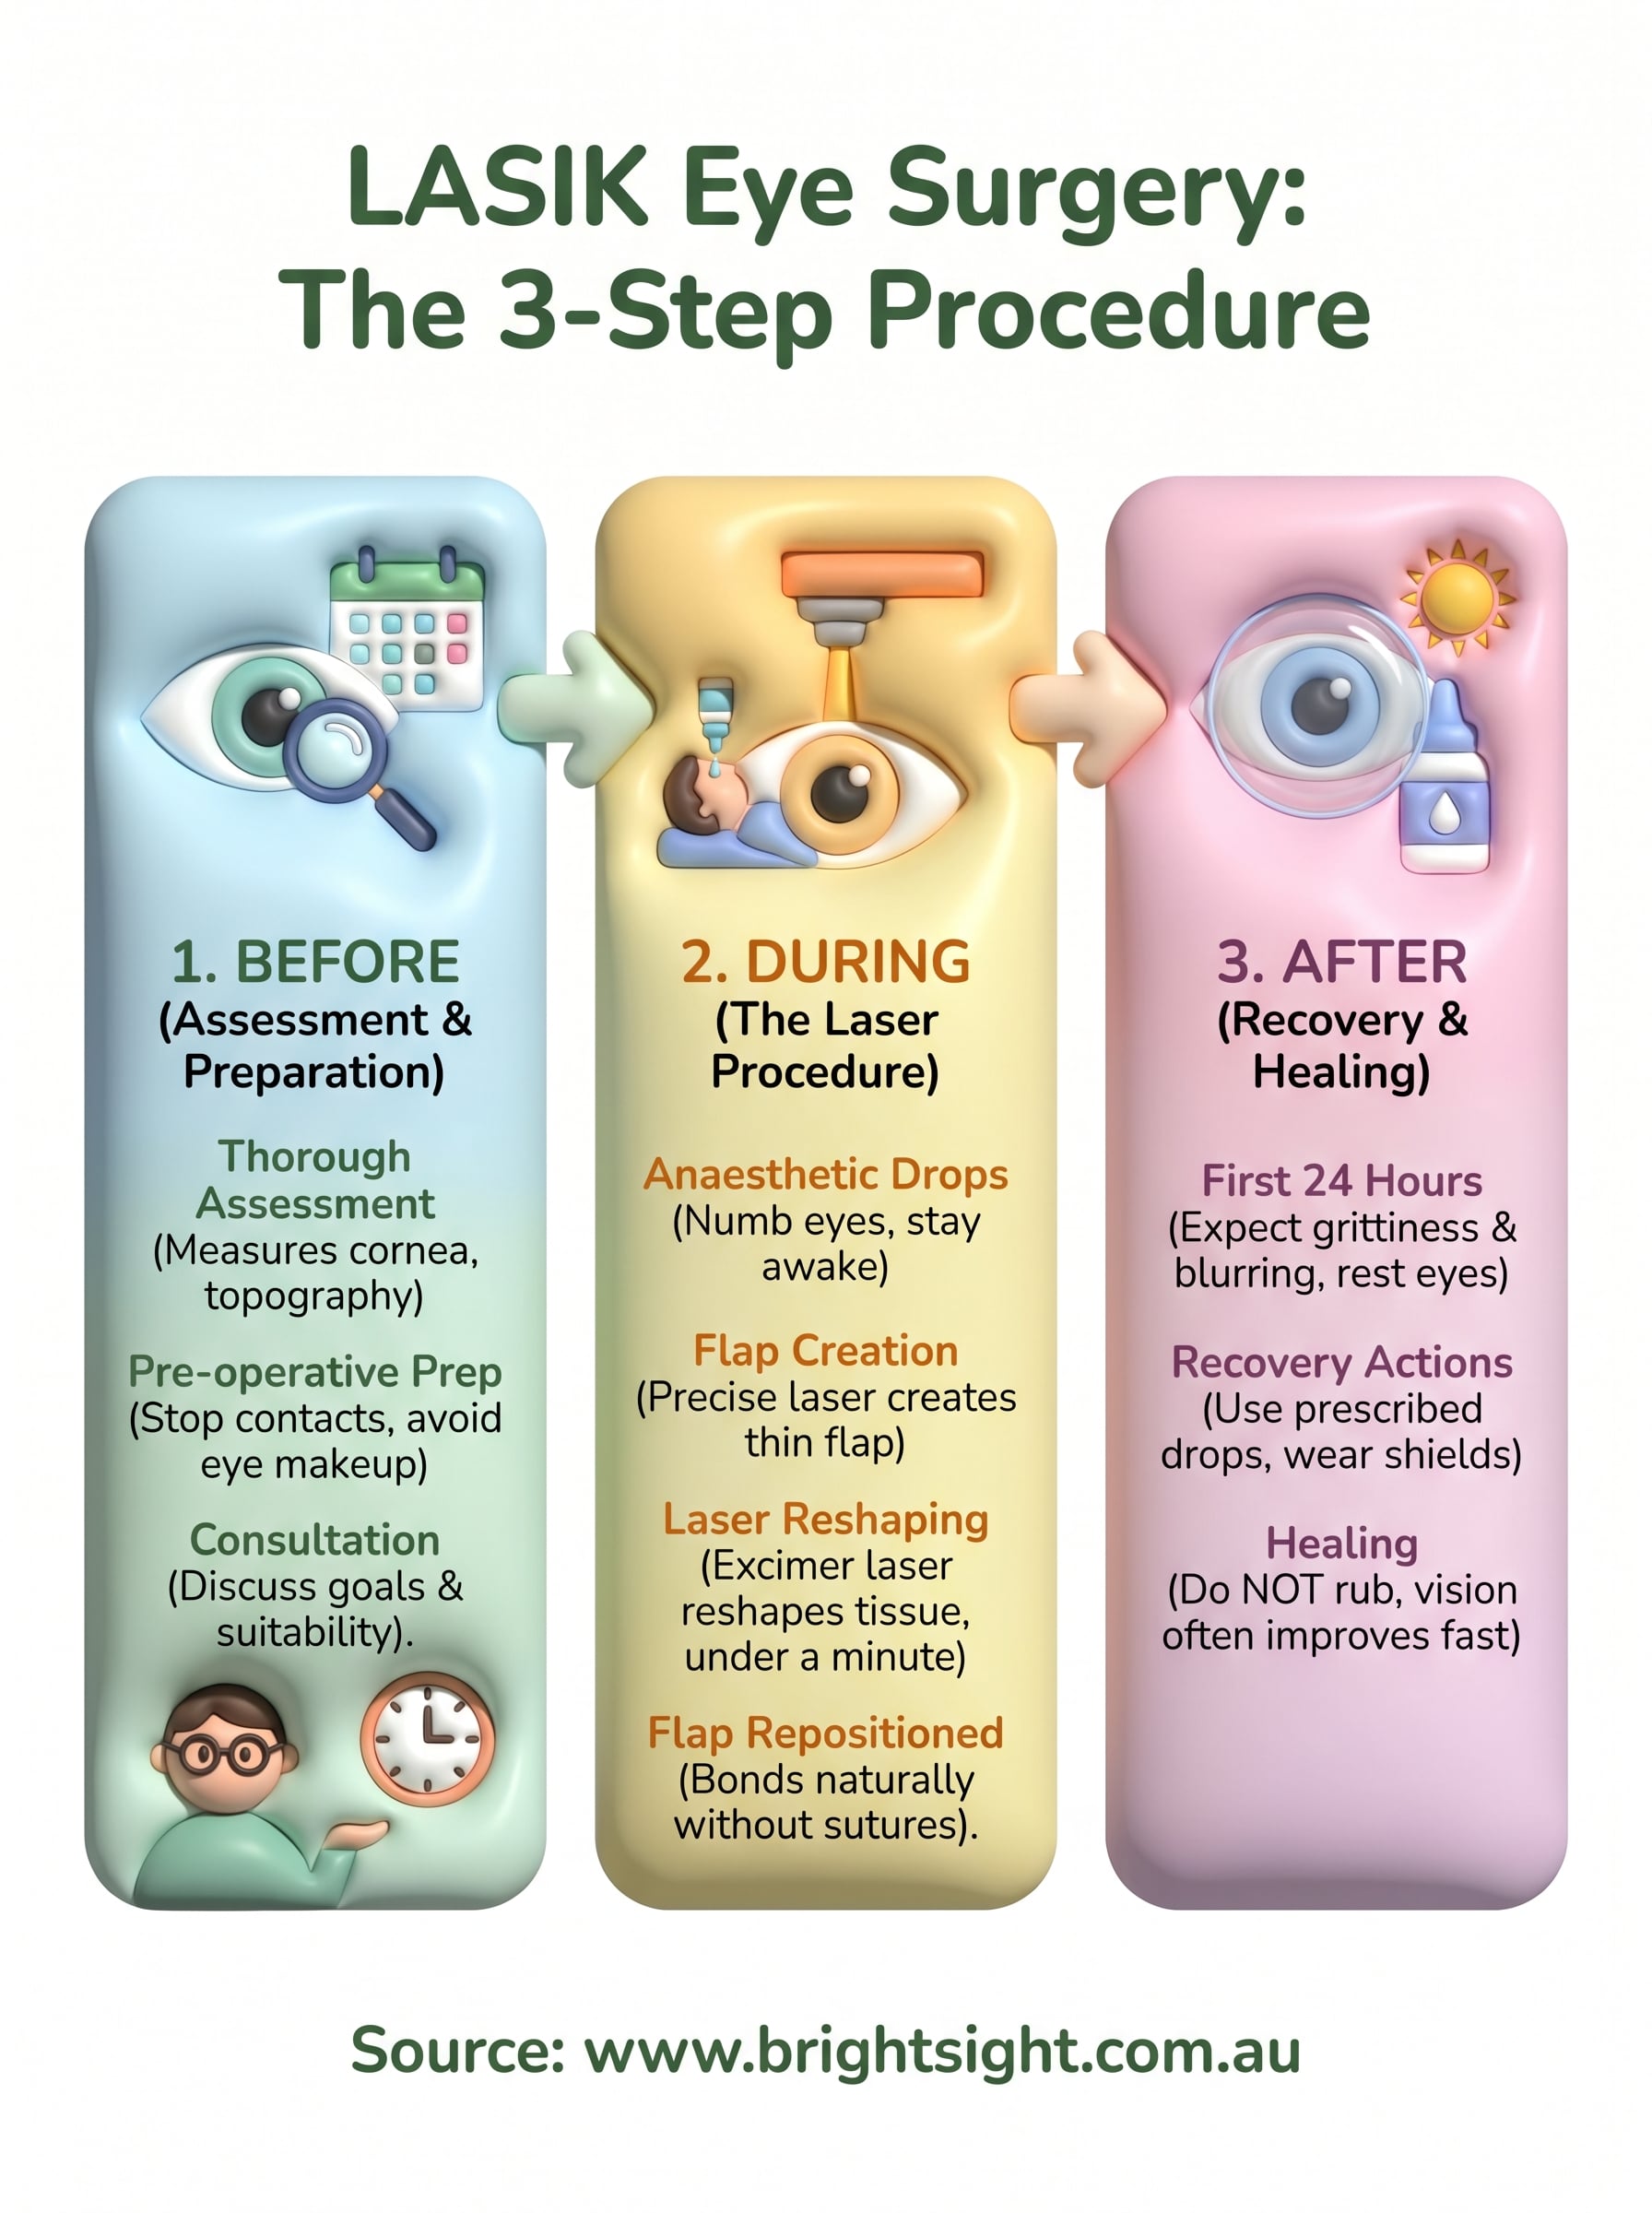
Once you are positioned comfortably under the laser, the surgeon begins the core LASIK eye surgery procedure steps in a precise sequence. The entire treatment for both eyes typically takes 15 to 20 minutes in total, though the laser itself runs for under a minute across both eyes combined.
Flap creation and laser reshaping
Your surgeon first positions a small device called a microkeratome or femtosecond laser against your eye to create the corneal flap. A gentle suction ring holds your eye steady during this step, and you may notice your vision dim briefly. Once the flap is lifted aside, the excimer laser activates and reshapes the underlying corneal tissue according to the personalised map created at your assessment. After reshaping, the flap is gently repositioned and adheres naturally within minutes.
The suction and flap creation phase takes roughly 30 seconds per eye, and the laser reshaping itself runs for 10 to 40 seconds depending on your prescription.
What you notice during the treatment
Your main task throughout the procedure is to focus on a small blinking target light directly above you. The team guides you verbally at every step, so you are never left guessing. You will smell a faint odour during the laser phase, which is completely normal and indicates the laser is working accurately. Most patients describe the experience as far more comfortable than they anticipated.
Step 4. Recover safely and know what’s normal
Recovery is the final stage of the LASIK eye surgery procedure steps, and following your surgeon’s instructions closely here protects the result you’ve worked toward. Most patients notice dramatically improved vision within hours of leaving the clinic, though some fluctuation is normal across the first few days as your eyes settle.
What happens in the first 24 hours
Your eyes will feel scratchy or watery immediately after the procedure, which is a normal response to the flap creation. Dr Odouard provides medicated eye drops to use on a strict schedule, so set phone reminders rather than relying on memory. Rest at home, avoid screens where possible, and wear the protective eye shields supplied by the clinic while you sleep that first night.

Do not rub your eyes for at least the first week, as this can disturb the corneal flap before it has fully bonded.
What is normal and what needs attention
Knowing the difference between expected healing responses and symptoms that need prompt review keeps your recovery on track. Use this guide:
| Symptom | Normal | Contact the clinic |
|---|---|---|
| Mild dryness or grittiness | Yes | If severe or worsening |
| Halos around lights at night | Yes, fades over weeks | If no improvement after four weeks |
| Blurred vision in first 24 hours | Yes | If worsening after day two |
| Eye pain or sudden vision loss | No | Immediately |
Next steps
Working through the LASIK eye surgery procedure steps shows you that this is a well-structured process, not a leap into the unknown. From your pre-operative assessment through to the weeks of recovery, each stage has a clear purpose and a predictable outcome when you follow your surgeon’s guidance closely. Most patients achieve their target vision within days and return to normal activities within a week.
Your next practical step is booking a consultation to find out whether your eyes suit LASIK or whether PRK or SMILE offers a better fit for your corneal anatomy and vision goals. Dr Capucine Odouard sees patients at Sydney Surgical Centre in Randwick and brings both the clinical training and the patient-centred approach to give you a thorough, honest assessment of your options. To take that first step, book a consultation with Dr Odouard and get a clear answer based on your own eyes.